Early Photography
During the Renaissance period many artists became interested showing the reality of nature. The camera obscura was invented, it was a dark room for which an inverted image was projected onto a surface. As technology improved the camera lucida was invented, it was a smaller and more easily controlled apparatus which was used as portable optical devices.
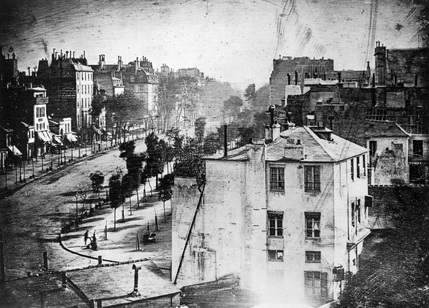
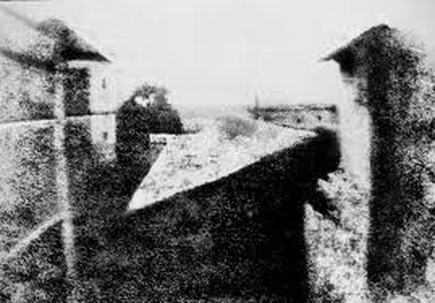
In 1827 Joseph Niépce created the first projected image which was of his view from his window in Le Gras, South France. Louis Jacques Daguerre worked with Joseph Niépce to try and improve the projected image. In January 1839 Daguerre invented the Daguerreotype whcih was type of laterally revered and monochromatic photo which was printed on a mental plate. Around the same time that the Daguerreotype was invted so was the calotype. This was developed by William Henry Fox Talbot and has an advantage over the Daguerreotype as it cold be reproduced as a negative rather than being unduplicatable.
In terms if the mass production the calotype was more superior however the Daguerreotype had far better quality and sharpness in comparison making it more popular in earlier years. Over time the calotype was improved and as advances in paper technology came about it became the most popular type of photography and is still used today. Talbot produced 'Photogentic Drawings' which are referred to today as photograms.
In early years many photographers focused mainly on the traditional themes such as portraiture and landscape. This gradually changed so photographers could find there own identity which was separate to that of a contemporary artist.
Photograms
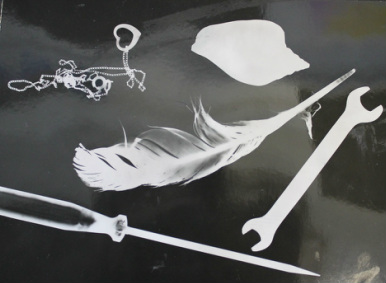
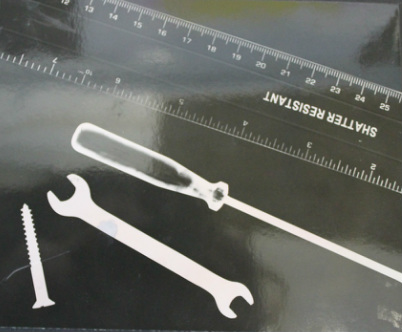
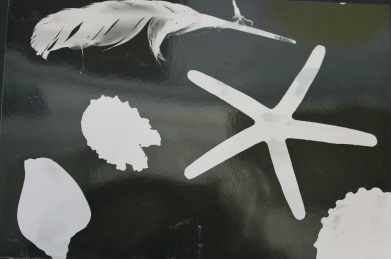
A photogram is a photographic print which is made by placing objects onto light sensitive paper and placing it with light from above. William Fox Talbot started making photograms of plants which he name 'photogenic drawings'. Photograms can be made using any objects however transparent objects and silhouette work the best
Photograms were not originally used as an art until the modernist movement in the 20th century. They focused on form, movement and space, many of the artists were part of the Bauhaus Movement in Germany. A photogram is a a photographic print which is made by placing objects onto light sensitive paper which is made by placing objects onto light sensitive paper and placing it with light from 'Photogenic Drawings'. Photograms can be made using any objects however transparent objects and silhouettes work the best.
Pinhole Camera
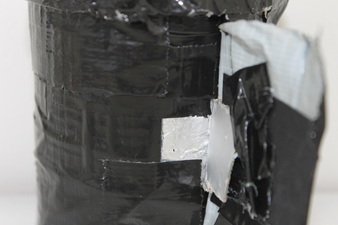
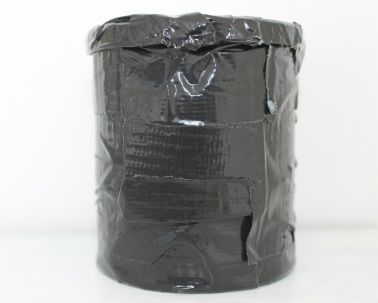
The pinhole camera is one of the most basic cameras that exists and is based on the camera obscura (this is a large room or container which has been blackened out with just a small hole for light to be let through). To make my own pinhole camera I used a pringle tin, black paper, black duct tape, tin foil, and a pin. This process of making it involved taking the empty pringles tin and wrapping black duct tape around it to prevent any light getting in. Then I used black paper to line the inside, the lid and the bottom of the tin. Next I cut a square in the tin and placed tin foil with a tiny pin prick in it, then I created a flap to prevent light getting in.
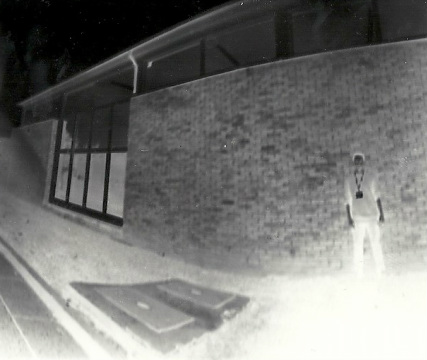
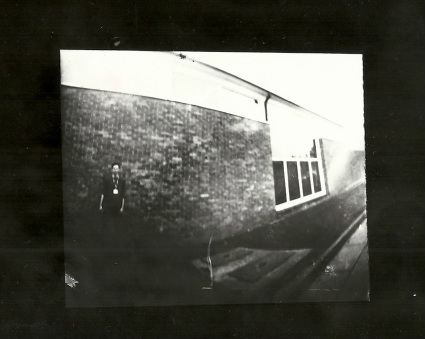
To create an image with a pinhole camera, the method of trial and error was used, much depended on the weather, exposure time and keeping the camera still. Creating an actual image was done bu placing photographic paper inside the pinhole camera and then securing the flap to prevent light coming in. Then the camera had to be balanced and kept still for when the picture was being taken. To take the picture you simply had to undo the flap and leave it open for an appropriate exposure time, this varied on weather conditions. Then the photos were taken into the dark room to be developed where a negative image was produced. Then to create a positive image I used a sandwich print method which involved taking another piece of photographic paper and laying the negative print on it, then in the dark room leaving it to expose to light for around 40-70 seconds depending on the print and placing it in bleach for a few minutes until the image became almost faded, and then placing it in sepia chemicals for a couple of minutes and then washing the chemicals off.
At first it was difficult to produce a clear image, they appeared blurry due to the fact that either the camera wasn't still or as it was raining or dull. Also exposure times effected how clear an image came out. For example on a rainy day a longer exposure was needed, originally I used an exposure of 20 seconds which wasn't long enough, a good exposure time was around 45 seconds. On a brighter day an exposure of around 30 seconds worked well and for a window shot an exposure of around 30-40 seconds produced a clear image.
At first it was difficult to produce a clear image, they appeared blurry due to the fact that either the camera wasn't still or as it was raining or dull. Also exposure times effected how clear an image came out. For example on a rainy day a longer exposure was needed, originally I used an exposure of 20 seconds which wasn't long enough, a good exposure time was around 45 seconds. On a brighter day an exposure of around 30 seconds worked well and for a window shot an exposure of around 30-40 seconds produced a clear image.
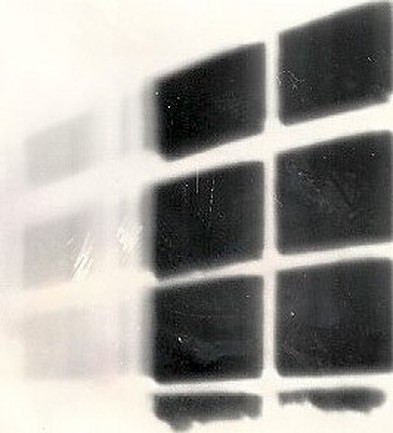
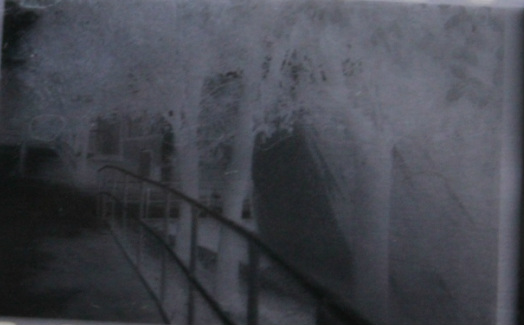
A negative print of a window with an exposure time of 25 seconds
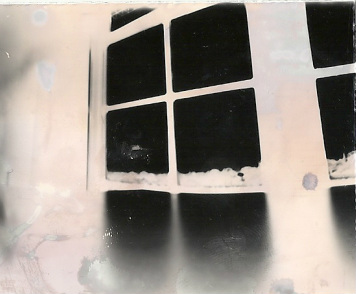
A negative print of a window with an exposure time of 40 seconds
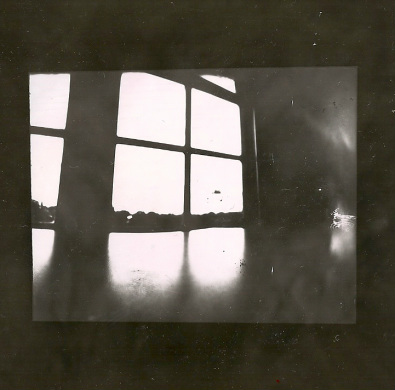
A positive print of a window left under the dark room light for an exposure time of 55 seconds
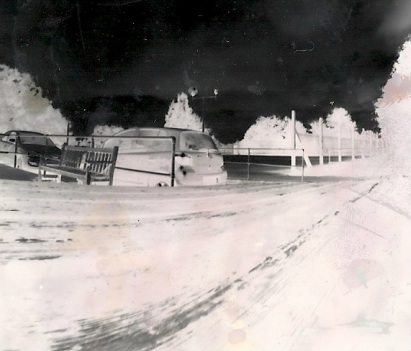
A negative print taken on a bright day with an exposure time of 35 seconds

A positive print taken on a bright day left under the dark room light for an exposure time of 50 seconds
A negative print taken on a bright day with an exposure time of 30 seconds
A positive print taken on a bright day left under the dark room light for an exposure time of 55 seconds
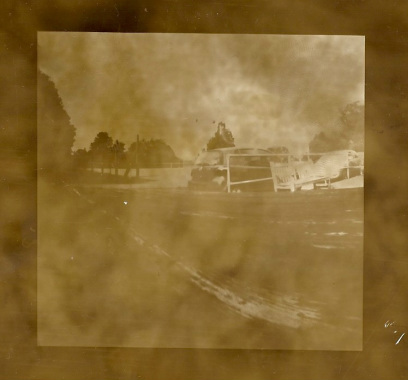
A positive print with a sepia effect
Film Photography
Before digital photography, photographers used film-based cameras which had to control how much light was coming through the lens through a shutter mechanism and aperture before it reached the tip of exposed film. Cameras share the same principle of the camera obscura by controlling the light entering a darkened space.
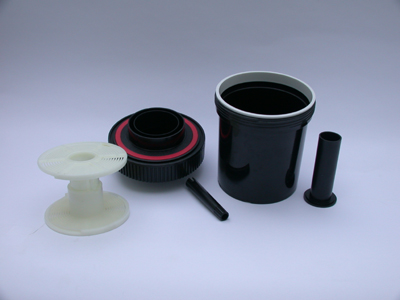
To load my film photography pictures I needed a developing tank, 35m film cassette opener, spool funnel and a film spool. The first step is to go to the 'Film Transfer Cupboard' which is pitch black to transfer the film to a spool. Next you had to turn the top part of the tank until it clicked and the funnel was trapped. Then the lid had tp be put on the container and the film had to be developed. To produce the pictures you needed to pour the film developer in and leave it for 6 and a 1/2 minutes and in the fix for 6 minutes. We used 30ml of the chemicals and 270ml of water. We used these ratios and timings as the film IOS was 400, lastly we washed the film in water for half and hour and left it to dry.
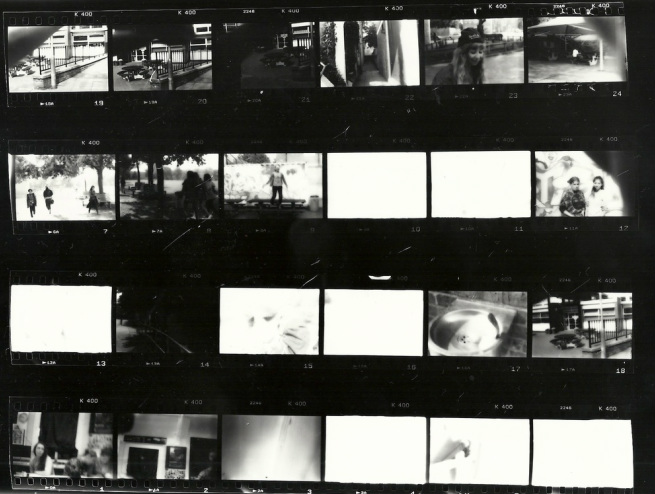
Contact Sheet
To produce a contact sheet I cut up the film until strips of 6 and in the dark room placed photographic paper shiny side up and placed my film strips on the paper and exposed it to the light for an appropriate amount of time.
Negative image
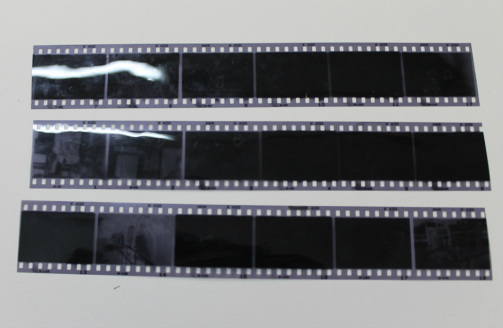
Negative film strips

Test strip for light exposure: 5, 5, 10, 15, 20 seconds
20 seconds light exposure
I also made a blown up print of a single photo, this was done by placing the photo from the film strip in the enlarger and the getting photographic paper and sizing it to fit and then exposing it to the light.
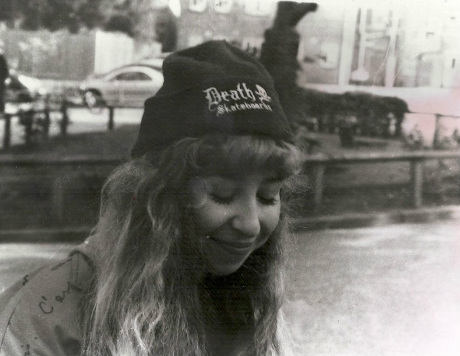
A blown up print, exposed to light for 15 seconds
Shutter Speed/Aperture
Shutter speed is the measure of how quickly the camera shutter opens and closes when taking a photo. The longer the shutter speed the more light that is let in, this can sometimes end up in overexposure if too much light comes In. A long exposure is where you keep the shutter open for one second or as long as you like manually. The problem with long exposure is that the camera may shake when you hold it causing the image to come out blurry, hence a tripod is recommended to prevent the camera from having any movement.
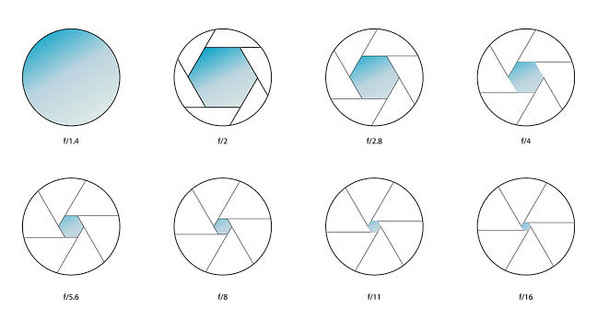
Aperture is the determination of how much light is exposed in the shot, it is measure in F-Stops. However the lower the F-Number the more light that is let in, so on a cloudy day a lower F-Number would be used whereas if it was a bright day a higher
F-Number would be used.
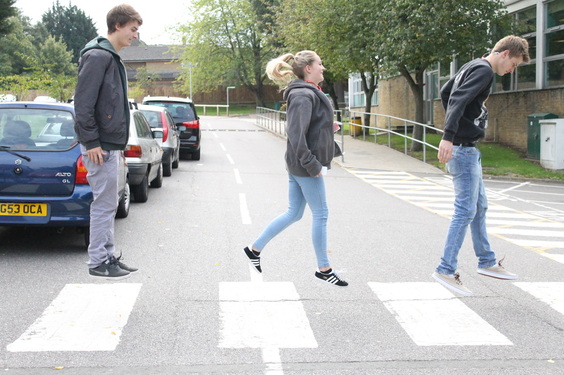
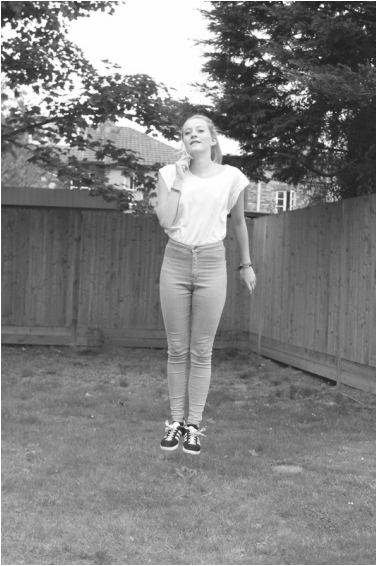
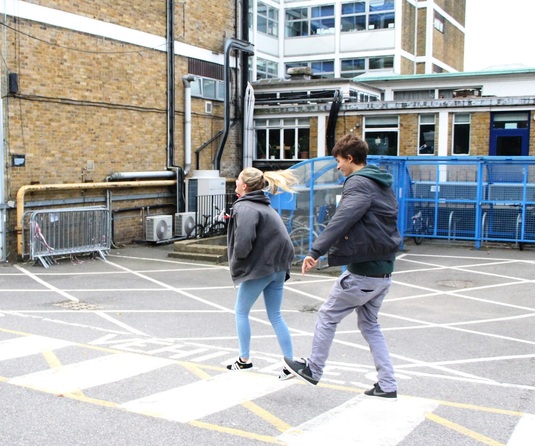
These photos were taken on a digital camera where the focus was to capture a moving image with a fast shutter speed to make sure the image didn't blur. I took it on a shutter speed of 1/4000.
Shutter speed is the measure of how quickly the camera shutter opens and closes when taking a photo. The longer the shutter speed the more light that is let in, this can sometimes end up in overexposure if too much light comes In. A long exposure is where you keep the shutter open for one second or as long as you like manually. The problem with long exposure is that the camera may shake when you hold it causing the image to come out blurry, hence a tripod is recommended to prevent the camera from having any movement.
Aperture is the determination of how much light is exposed in the shot, it is measure in F-Stops. However the lower the F-Number the more light that is let in, so on a cloudy day a lower F-Number would be used whereas if it was a bright day a higher
F-Number would be used.
These photos were taken on a digital camera where the focus was to capture a moving image with a fast shutter speed to make sure the image didn't blur. I took it on a shutter speed of 1/4000.
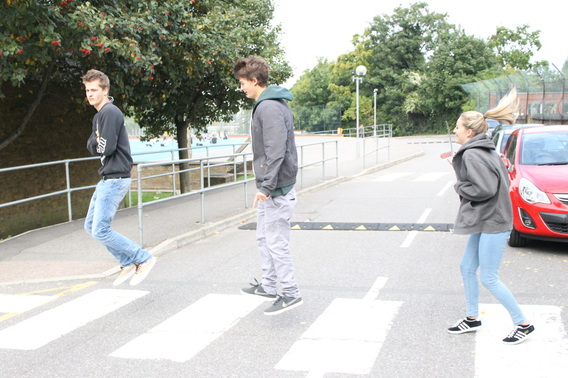
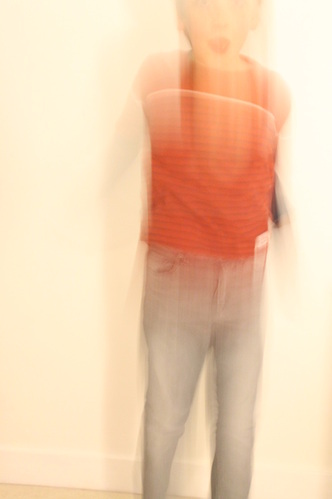
Here is a photo taken with a slow shutter speed, the point of this photo was to produce a blurred image. It was taken on a shutter speed of 1/4.
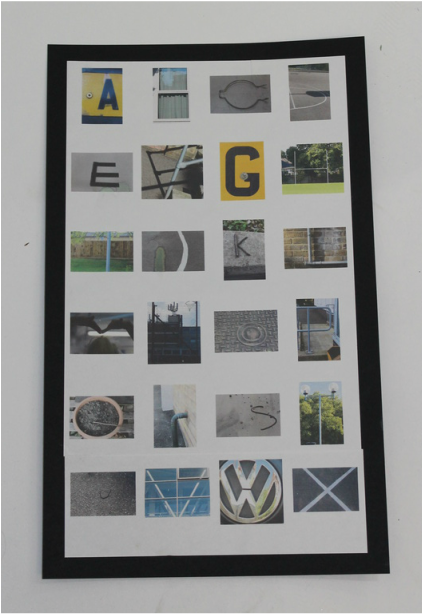
Alphabet Photos
To create alphabet photographs I had to find everyday objects and surroundings that created a letter shape.
To create alphabet photographs I had to find everyday objects and surroundings that created a letter shape.